Growing Weed Outdoors
Outdoor weed cultivation is a popular way to achieve a great harvest of home-grown buds. You can grow weed outdoors in any country with warm summers, but for a successful harvest of tasty buds and to avoid disappointment, it's advisable to keep an eye on a few essential things. This blog will help you with that! We keep it concise but will mention all the things that could be important during your grow in one handy overview. Below you'll find everything you need to know and a handy step-by-step plan.
Last updated: April 2026
This guide is regularly updated with the latest insights.
The Basic Steps
- Choose your seeds
- Choose your growing location: garden, balcony, or in the wild (guerrilla growing)
- Ensure pots with at least 10 liters of good potting soil (unless you're growing in open soil)
- Ensure nutrients for growth and bloom
- Think about how you're going to water
- Optional necessities: support stakes, canopy, windbreaks, pH- and EC-meter
Advantages and Disadvantages of Outdoor Cultivation
Outdoor weed cultivation has its pros and cons. On the one hand, your plants can grow significantly under the enjoyment of natural sunlight and rainwater, often resulting in larger plants with more room to develop. Moreover, you don't need to buy a grow tent or lamps (except maybe a small grow lamp for the initial phase) and the soil outside is often rich in beneficial soil microbes. On the other hand, the plants outside are more vulnerable. They can suffer from insect plagues, foraging by deer, heatwaves, and cold.
Choice of Strain
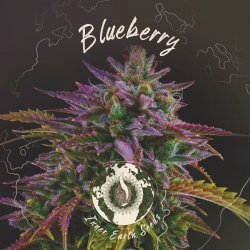
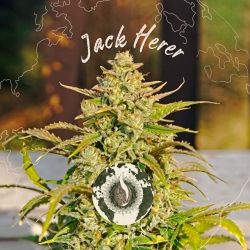
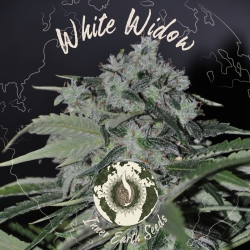
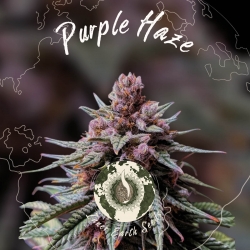
Choosing the right cannabis strain is an important first step in your cultivation. Using feminized seeds, you ensure that you grow buds without seeds and don't have to remove male plants. Most outdoor growers opt for indica-dominant strains like Blueberry, Chemdawg, or Zkittlez because they have a shorter flowering period, allowing your harvest to be ready before the bad autumn weather really sets in. If you still want to grow sativas, choose preferably a sativa & indica cross such as Silver Haze for example; these flower a bit earlier than a pure sativa strain. When choosing your seeds, pay special attention to resistance to pests and diseases, the length of the flowering period, plant height, the taste you want, and whether the seeds are suitable for outdoor cultivation.
Germination
Germinating weed seeds is the first step in the cultivation process. According to most growers, the best method is to let the seeds germinate between moist cotton pads or damp kitchen paper. The key to success is the right balance between moisture and temperature, without light. Simply do the following:
- Take a dish and lay damp kitchen paper or cotton pads on it. Make sure the material is not soaking wet, but nicely moist.
- Place your seeds on the moist material with at least 1cm distance between the seeds.
- Cover with another layer of damp kitchen paper or cotton pads.
Make sure the seeds do not receive any light yet: weed seeds like to germinate in the dark. Also, ensure a good ambient temperature: the ideal temperature for germinating weed seeds is between 22°C and 25°C. Oxygen also plays a role in germination; therefore, the kitchen paper method has a higher success rate than other methods (for example, the method where you put seeds in a glass of water).
You can also cover the dish with weed seeds with plastic wrap in which you've poked a few holes to keep the moisture level and temperature even more stable. But whether you cover it or not: keep an eye on the moisture level and temperature at all times. Add small amounts of water if necessary and ensure the outdoor temperature is pleasant. Germinating weed seeds for outdoor cultivation is usually done around mid-March; in open soil, the temperature should be fine. Using a propagator / mini-greenhouse is also a good option to keep the temperature high enough and stable.
If you follow the above steps, you should see the first root from the seeds within 1 to 4 days. With older seeds, this could take even longer; over time, the speed of germination and the germination percentage gradually decrease. Buying fresh quality seeds is therefore a good idea for a successful start of your cultivation.
Once the seeds have germinated and the first root is visible, move the seeds to pots with (preferably organic) sowing or cutting soil and place them temporarily under a suitable light source, so the seedlings can really start growing. Once the seedlings have grown and rooted well after 2-3 weeks, repot them to their final location.
Growing Medium: Pots or Open Soil?
After choosing your seeds, you decide which medium you want to use to let your plants grow and bloom: in pots or in open soil. Both methods have their pros and cons. Growing in pots gives you more control over how much water and nutrients you give, but plants in pots require more attention and potting soil dries out faster than open soil. Open soil is closest to nature and contains nutrients and soil life by itself, but can also (depending on the location, groundwater level, and rainfall) have too much or too little water throughout the growing season. In your backyard, you can easily keep an eye on this and act accordingly, but when you grow in the wild, choose a good location that does not easily get too dry or too wet (near a river, for example).
Whether you're growing in pots or in open soil: preferably use organic soil/compost and plant-based nutrients. This ensures that the plant can absorb all natural nutrients and trace elements well, which benefits the taste, quality, and defense of the plant. You also ensure that no synthetic fertilizers and toxic pesticides end up in your final product.
Preparing the Growing Location
A good growing location is sunny, protected against strong wind, and has good drainage. Whether you choose to grow in the backyard, on a balcony, or at a secret guerrilla location, these are the basic points to consider when preparing a suitable growing spot:
- Ensure as much sunlight as possible throughout the day.
- Improve the soil with compost and/or growth nutrients.
- Ensure good drainage to prevent water problems.
- Use supports for the plants, a transparent canopy for protection against rain, and screens for protection against wind if necessary.
- Check the pH value of the soil and adjust it if necessary.
Light Hours
When you grow outdoors, you're dependent on the natural light schedule. Weed plants (with the exception of autoflowers) start to bloom towards the end of summer; naturally, their biological clock is set to start blooming when the days get shorter. This means that you put your plants outside from mid-May (when the risk of night frost has passed) and harvest them at the beginning of autumn. Preferably choose strains with not too long a flowering period that are also mentioned to be suitable for outdoor cultivation.
Care During Growth
From the moment your plants have germinated, proper care is important. Think about plant nutrition and ensuring the right amount of water. Also, maintaining a stable temperature is of great importance for the growth and bloom of your weed plants. For outdoor cultivation, you usually start germinating around mid-March. Around that time, the indoor temperature is usually fine for a good start. The ideal temperature varies a bit during the different growth phases but preferably always lies between 18-26°C. Make sure to avoid extremes in temperature to minimize stress and promote optimal growth.
It might also be important to monitor the pH value and EC value of your soil and feeding water. If you are a beginner grower, you can choose not to measure pH and EC. As you gain more growing experience, you will naturally understand why measuring pH and EC can be important - for example, when determining causes of nutrient deficiencies or other plant problems. Until then, you can do just fine without worrying about pH and EC for a few growing cycles.
Pests and Diseases
Prevention is better than cure, especially when it comes to pests and diseases. Regular inspection of your plants can prevent many problems. Pests such as spider mites, thrips, and aphids can significantly affect your plants, and thus your harvest. But how do you recognize pests on your weed plant? Here are the most common ones. Spider mites leave small yellow or white spots on the leaves and you may see fine webs. Thrips cause silvery flecks on foliage, and aphids are often seen in groups on the underside of the leaves or at young shoots.
Fungal diseases like powdery mildew and root rot are also common, especially in outdoor cultivation. Powdery mildew is recognized by a white, powdery layer on the leaves, while root rot manifests in discolored, drooping leaves because the roots lose their function. To tackle these problems, you can use organic pesticides such as predatory mites, neem oil, or garlic spray. Remove affected parts of the plant, ensure good air circulation by not planting your plants too close to each other. Ensure correct watering and work as cleanly as possible.
Watering
Your plants obviously need water. The basic rule is to ensure that your growing medium does not dry out, but also does not stay too wet. Balance is the keyword; as you gain more growing experience, you will naturally develop a feel for it. A simple way to check if your plants need water is by feeling the top layer of the soil; it should be slightly moist. Always water the growing medium itself and not the plants; this prevents mold problems.
When growing in pots, preferably water under the pots: you can do this by, for example, placing your pots on trays, then pouring water into the trays. Tap water can be used, this is generally not a problem, but experienced growers prefer rainwater, filtered water, or spring water because it has the right hardness, contains fewer residues, and ensures, for example, that too much calcium does not end up in your growing medium. But for a first grow, you can perfectly choose tap water.
The Nutrients
Choosing the right nutrition for your plants can bring significant benefits in terms of the taste of your weed, the size of your buds, and the plant's resistance to diseases. Nitrogen (N), phosphorus (P), and potassium (K) are the main nutrients. Throughout the entire grow, the plant needs every nutrient, but the need varies per phase. For example, a plant needs more nitrogen (N) during the growth phase and more potassium (K) during the bloom.
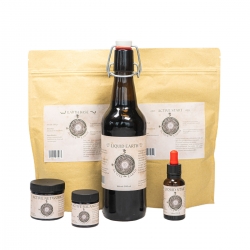
There are many different opinions about the right nutrition. Reading a lot, researching, and experimenting will give you more and more knowledge and feel for when and how much of which nutrition to give. If you want to make it easy for yourself and be done in one go, take a look at our complete nutrition kit for organic cultivation! This kit ensures that you have everything you need for the growth and bloom phase, complete with instructions on how much and when to give which nutrition. This way, you also don't have to worry about under- or overfeeding. In addition, the specially selected components of the package from the 1st day of cultivation create an active soil life, including beneficial mycorrhiza, which drastically benefits the nutrient uptake of the plants.
Toping, Fimming, LST, and ScrOG
Techniques such as topping, fimming, LST (Low Stress Training), and ScrOG (Screen of Green) are used to increase yield and control plant size. These methods ensure a more even light distribution, so each bud can receive equal light and develop well. Especially in (smaller) indoor grow spaces or in a greenhouse, this is applied, but also in an outdoor grow in the open air, it can be beneficial, for example, if you want the side buds to develop more, or when you want to keep your plant low to prevent it from standing out too much.
Topping is done by cutting off the (main) top when the plant is at least 15cm high and has developed at least 3 side branches, causing the plant to grow more like a bush. This ensures that all other buds on the plant develop more, instead of one large main bud and several smaller buds. With fimming (F*ck I Missed), you do the same but leave a small part of the developing main bud, hoping that the plant will produce more than one main bud and grow more like a bush, just like with regular topping.
Low Stress Training (LST) is a technique where you make optimal use of the available space and light. This method consists of gently bending and tying the stems of the cannabis plant. A weed plant tends to develop a large central stem with a large main bud, while the side branches usually produce smaller buds. Through LST, you try to shape the crop so that it has a uniform height. This way, each bud gets more evenly light, resulting in larger buds and ultimately higher yields. The beauty of LST is that you don't have to adjust your grow setup. A bit of knowledge and a few simple tools are all you need. Screen of Green (ScrOG) finally is actually a variation on LST, where you use a net or mesh to tie the stems with buds to.
Summary of Outdoor Cultivation
With the right preparation, strain choice, and location preparation, outdoor cultivation can yield great harvests of beautiful buds. Below is a brief overview of the steps involved in your outdoor cultivation.
Step-by-Step Plan for Outdoor Cultivation
- Plan your growing location: Choose the location of your growing area in the garden, open field, or on a balcony.
- Gather your supplies: Purchase all essential necessities, tailored to the size of your grow.
- Select your strains: Determine which strains you'd like, suitable for outdoor cultivation.
- Set up your growing location: Prepare the soil and install supports, a canopy, and windbreaks if necessary.
- Start growing: Begin with germination and move the seedlings to the growing location as soon as they are strong enough.
- Manage your grow: Provide the right nutrients and possibly apply techniques such as topping/fimming for optimal growth.
- Harvest and process: Harvest at the right time and follow the correct drying and curing processes.
Harvesting, Trimming, and Drying
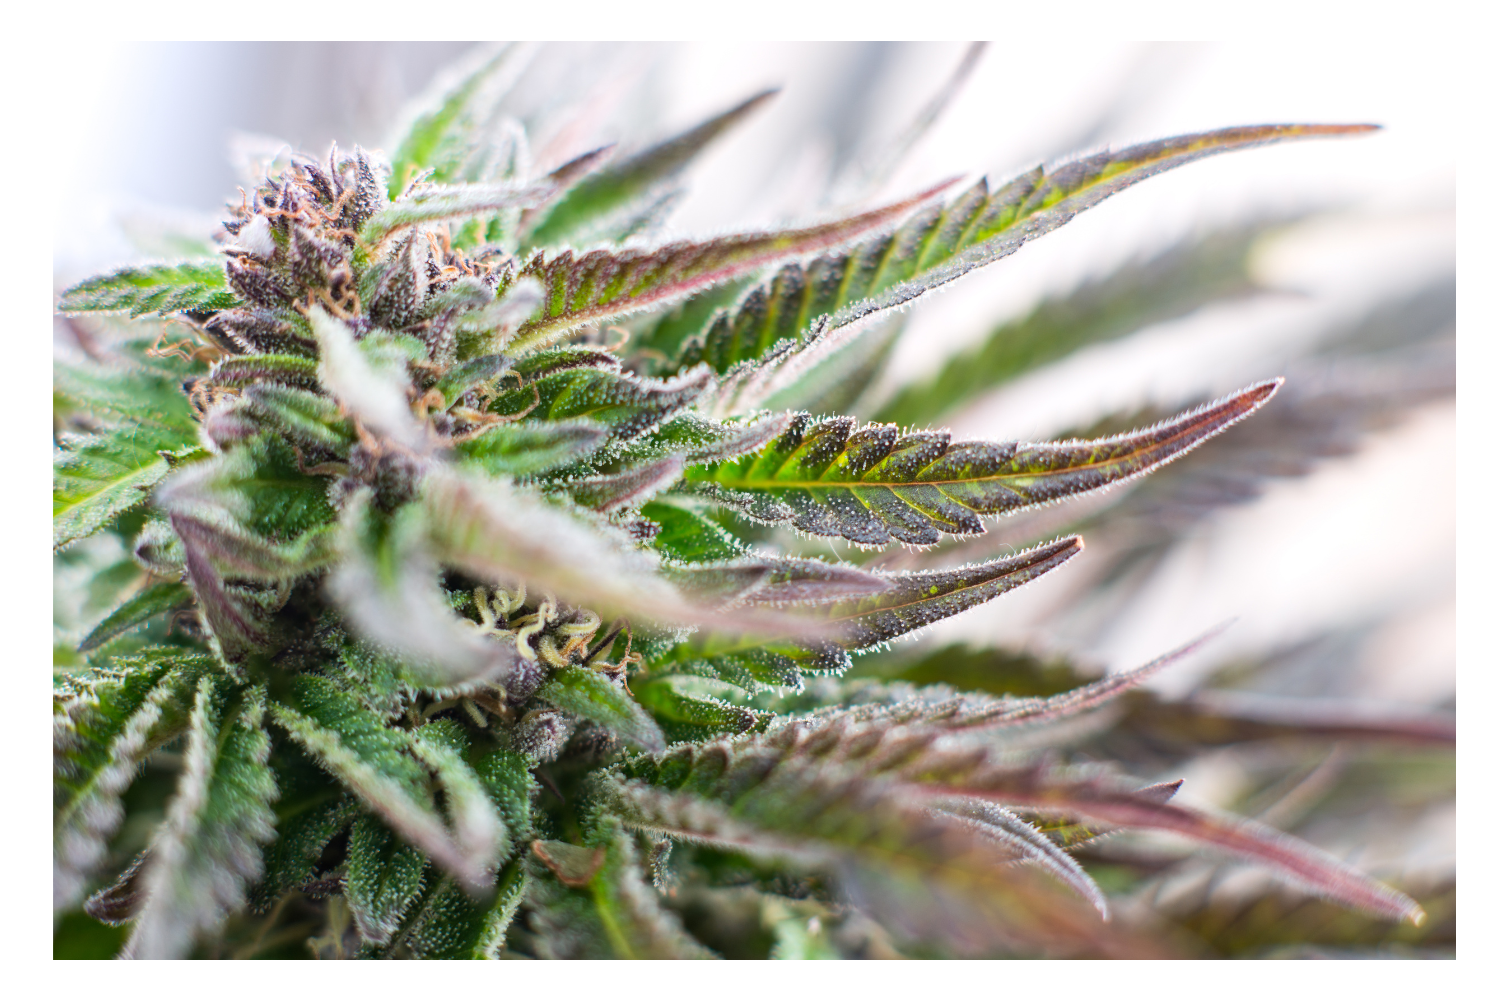
After the grow comes the harvest! But how do you determine the best moment to harvest your buds? Harvesting too early means your buds are not fully grown yet, resulting in less weed, and less THC because the trichomes are not ripe yet. Harvesting too late leads to a degradation of THC, making your weed less potent. To know the best time to harvest, you can do a few things. Look at the trichomes (glandular hairs) with a good magnifying glass. If the glands are about 70% milky white, it's a good time. Another indication of harvest time is the color of the pistils: if they are mostly brown, your buds are well on their way to ripening. If the leaves of your plant turn yellow, this can also indicate an approaching harvest. Additionally, the flowering time indicated by the breeder of your weed strain is of course a handy clue. All these things together give you a fairly accurate impression of the best harvest moment.
Harvest by cutting the side branches with the buds off the plant. Then you can choose to immediately hang the branches to dry and later trim away the small leaves, or first trim these leaves and then hang the branches to dry (dry trimming or wet trimming). There are pros and cons to both methods. Dry trimming is better for the taste and quality, but takes up more space, there's a slightly higher chance of mold, and the trimming itself is a bit more cumbersome than when you wet trim. Wet trimming is faster and you have less chance of mold, but the taste of your weed may ultimately be a bit less strong, although the difference may not be hugely noticeable for many. The choice is yours!
Drying is best done in a dark room at about 20°C and with about 50% humidity. Ensure lightly circulating air (use, for example, a fan) and ensure enough space between the buds. This way, they dry best. There are different ways to hang your buds: you could, for example, stretch lines and hang the branches on them with clips. You can also cut the buds off the branches and lay them in a drying net.
Some growers swear by 'flushing' the plant, 1 to 2 weeks before the harvest. This means that you only give water in the last weeks, so the weed tastes cleaner and does not taste like excess nutrients when you smoke it. Especially if you use synthetic fertilizer, this is a good idea. With organic cultivation, you don't need to worry about this as much, but you can still choose to only give water in the last weeks, without nutrients.
Curing
Curing is the last important step in the process. Curing improves the taste, aroma, and potency of your weed. For this, you put the dried weed in an airtight container (a preserving jar, for example) where the weed can slowly mature. Occasionally open the jar for a day to let the weed 'breathe', then close it again. After a month or two, you will notice that the weed has become noticeably softer and sweeter in taste. Make sure the weed is well dried before you start curing: too wet weed can cure into sour, undesirable flavors and a much less pleasant final product!
Conclusion
Weed cultivation is a fascinating hobby that can be both challenging and rewarding. With the right knowledge and care, you can grow beautiful outdoor weed yourself. We hope this blog contributes to your own harvest of delicious buds. Happy growing!
Why Next Level Smart?
- Strains suited to the Dutch climate — Critical and Blueberry handle our greyer summers and shorter flowering windows well
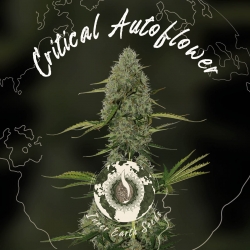
- Autoflower seeds for late starts — flowering independent of light cycle, ideal for anyone starting only in June
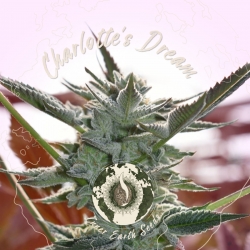
- Inner Earth Seeds line — stabilised genetics that deliver reliable yields outdoors too
- Active since 2010 as a Dutch smart shop — fifteen years of experience with seeds and shipping from the Netherlands
Frequently asked questions about outdoor weed growing
When can I start outdoors in the Netherlands?
Photoperiodic plants go outside after the Ice Saints (mid-May) once nights stay above ten degrees. Autoflowers can be started from April, provided you keep them under a cold frame or indoors until mid-May. Harvest typically falls between late September and late October.
How much direct sunlight is needed?
At least six hours of direct sunlight per day, ideally eight to ten. A south-facing spot with little shade is essential. Remember: the Dutch summer sun sits high, so walls or tall trees can cast shade later in the day that you do not notice in June.
How do I protect against pests?
Main enemies are caterpillars, spider mites, whitefly, and leaf roll. Preventively: check the underside of leaves regularly, plant deterrent herbs like lavender and basil nearby, and use plant nets against birds and larger insects. For heavier infestations: biological options like Bacillus thuringiensis for caterpillars.
When is it time to harvest?
Same principle as indoor: trichome check with a loupe. In the Netherlands this lands between late September and late October for most strains. Do not wait too long — autumn rain and damp sharply increase the risk of bud rot (botrytis).
What is the difference between autoflowers and feminised?
Feminised plants only start flowering when days shorten (after midsummer). Autoflowers flower independently of light cycle, typically eight to twelve weeks after germination. For late starters or guerrilla grows autoflowers make more sense; for maximum yield per plant feminised strains are better.
Which Dutch region is suitable?
All of the Netherlands works, but the south (Limburg, Brabant, southern Gelderland) averages more sunshine hours and higher temperatures than the north. Coastal provinces have more wind and salty air — not impossible, but worth planning around. A sheltered garden or greenhouse helps everywhere.
What about rain and high humidity?
Two concerns: late-season rain raises the rot risk in dense flowers, and persistent humidity makes plants more vulnerable to whitefly and spider mites. Plant on raised mounds for drainage, gently shake rain from dense buds, and keep airflow open around the plants.
How does outdoor compare to indoor in quality?
Outdoor weed is often described as more flavourful and complex thanks to broader sunlight spectrum exposure, but THC percentages usually run slightly under a comparable indoor strain due to less controlled conditions. For a direct comparison, read our blog on
indoor weed growing.
Last updated: April 2026 | Next Level Smart Shop