


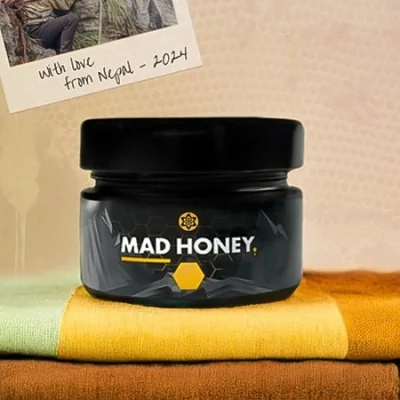


A trip can sometimes take you a little deeper than you expected. That is almost never cause for worry, and it always...
Blog categories
- All posts (175)
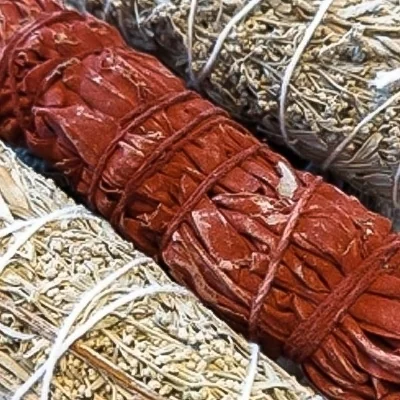
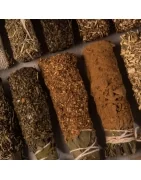
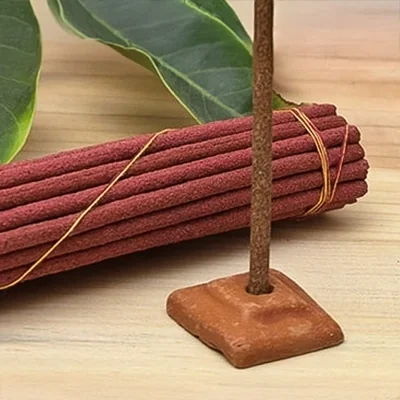
- Aroma & Incense Blogs (5)
- Cannabis Blogs (17)
- Ceremonial Cacao Blogs (15)
- Ethnobotanicals Blogs (3)
- Health & Lifestyle Blogs (70)
- Kanna Blogs (4)
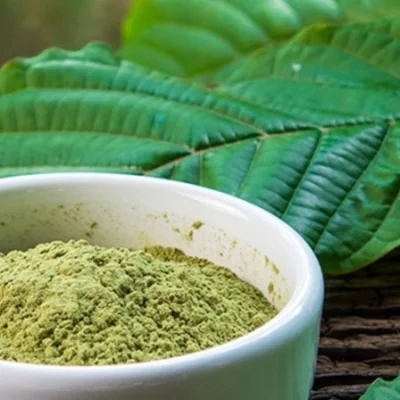
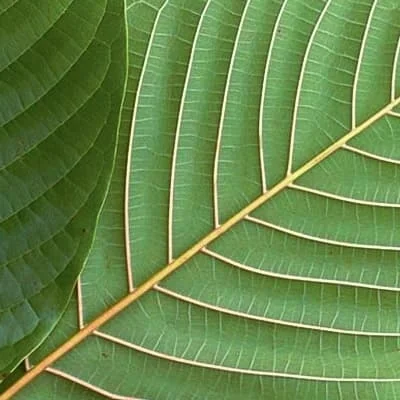
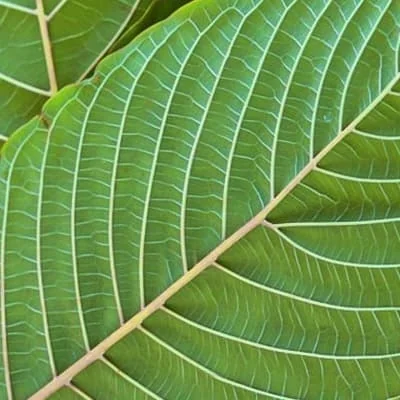
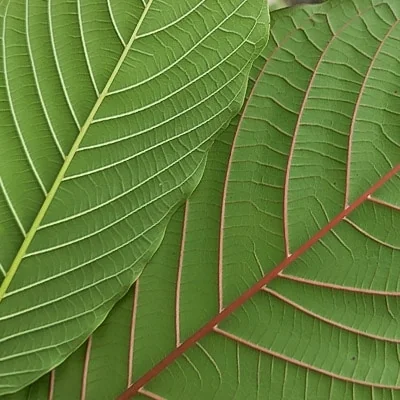
- Kratom Blogs (5)
- Magic Mushrooms Blogs (37)
- Magic Truffles Blogs (17)
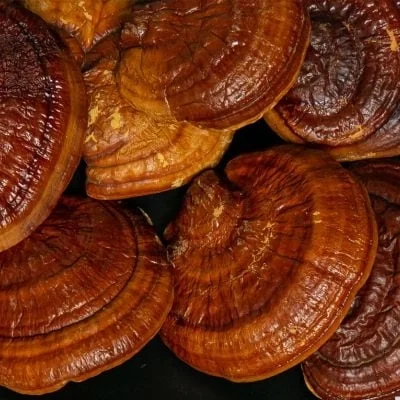
- Medicinal Mushrooms Blogs (13)
- Microdosing Blogs (8)
- Psychedelics Blogs (53)
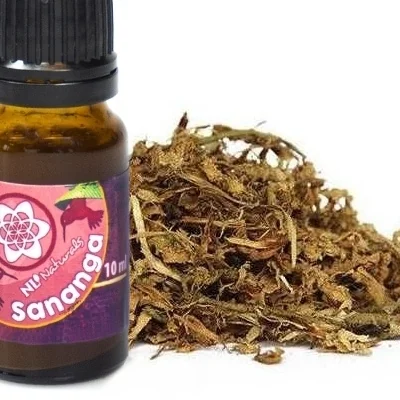
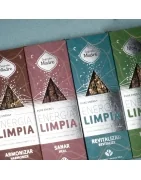
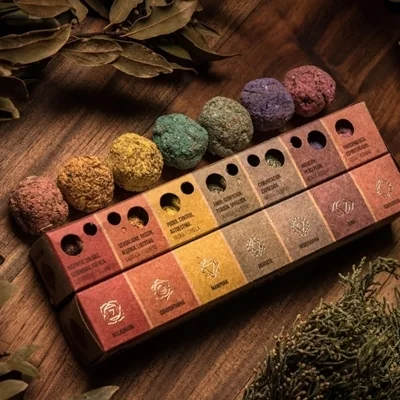
- Rapé Blogs (10)
- Shamanism Blogs (39)
- Smartshop Blogs (56)
Search in blog
Latest posts

When a Trip Gets Too Intense: Staying Calm and Riding It Out
Read More

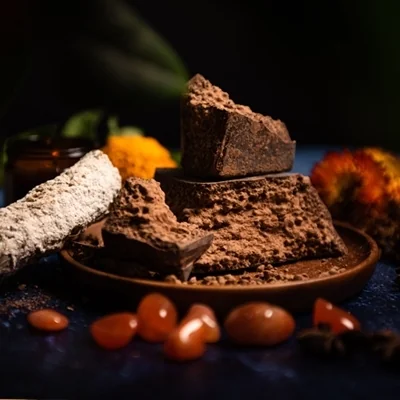
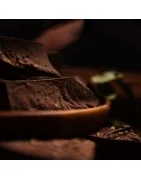
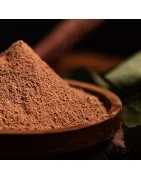
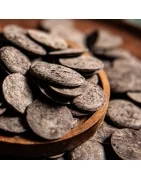
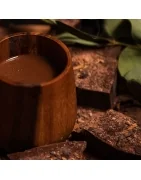
Cacao vs Coffee: Theobromine vs Caffeine
Read More
Coffee and cacao both give you energy, but the experience is completely different. It comes down to a single...

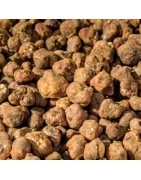
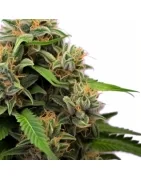
Magic Truffles by Strength: From Gentle to Strongest
Read More
Not every magic truffle is equally strong: there is a world of difference between a gentle Mexicana and a hefty High...

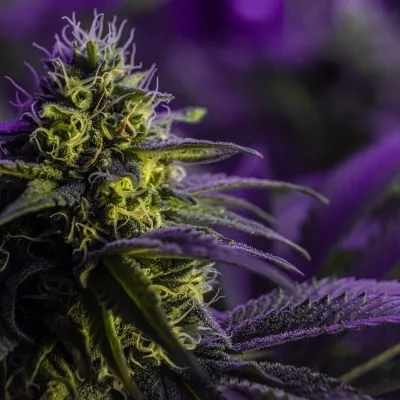
Indica, Sativa and Ruderalis: The Real Difference Explained
Read More
Indica, sativa and ruderalis: the three names you will find on almost every pack of cannabis seeds. But what do they...
Popular posts

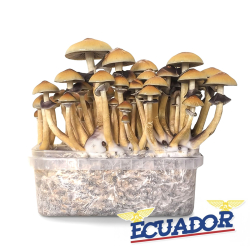
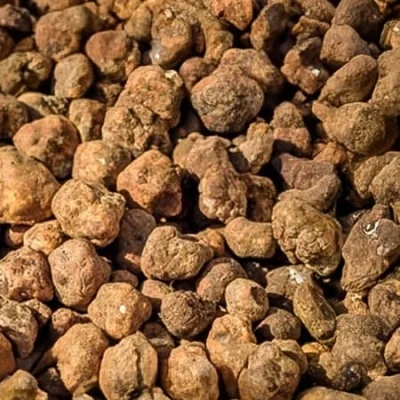
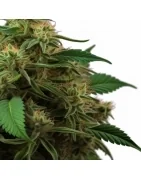
Magic Truffles Guide 2026: Everything About Use, Effects & Safety
Complete guide to magic truffles and psilocybin: what are sclerotia, how to use them safely, what effects to expect,...
Read more

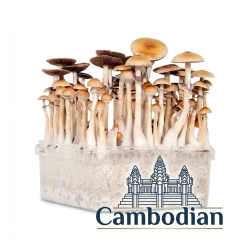
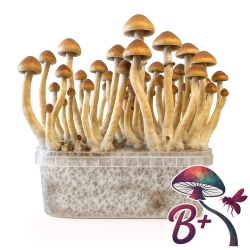
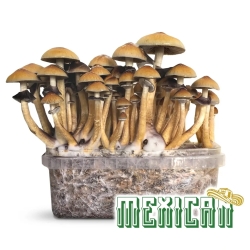
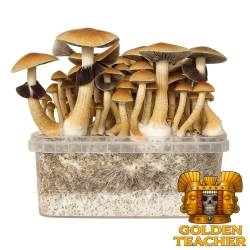
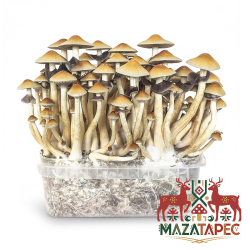
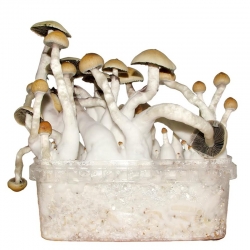
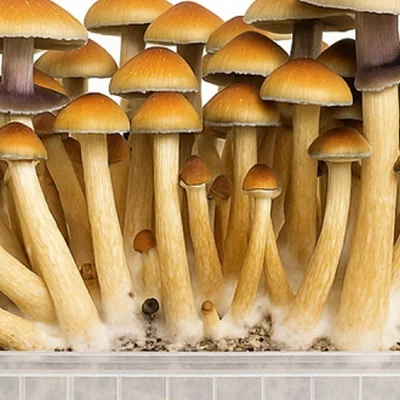
How to Grow Magic Mushrooms in 9 Easy Steps
Growing your own Magic Mushrooms can be a rewarding and fun experience! This Magic Mushroom grow kit guide with easy...
Read more

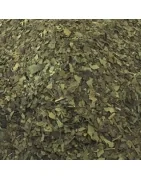
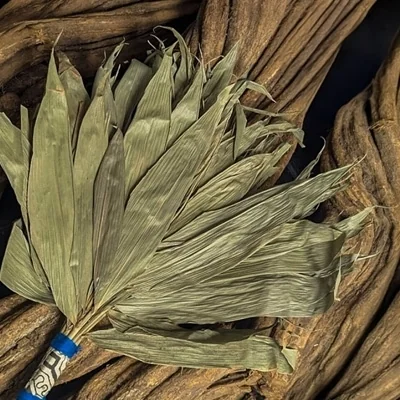
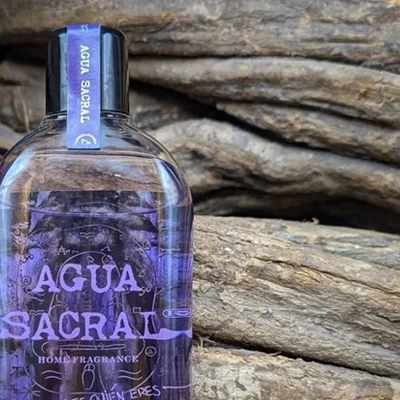
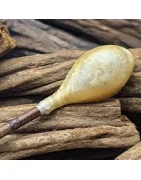
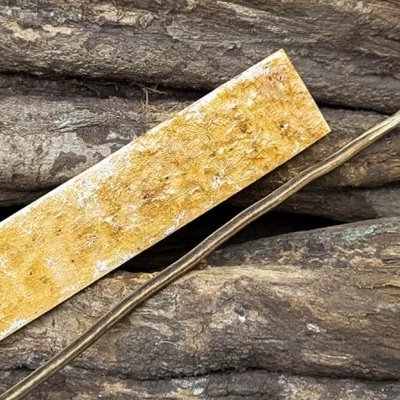
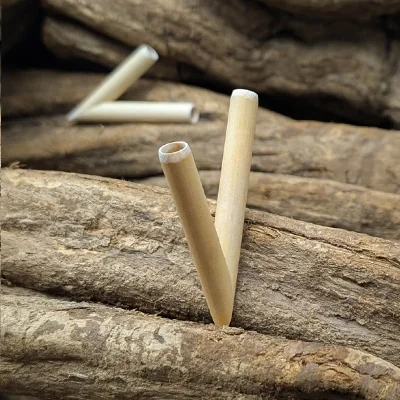
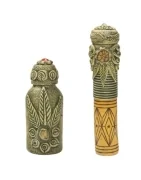
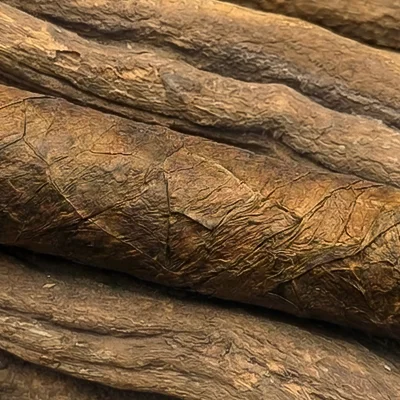
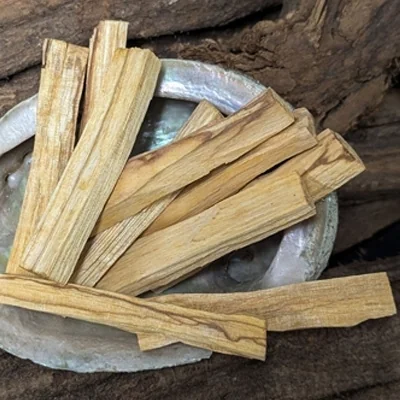
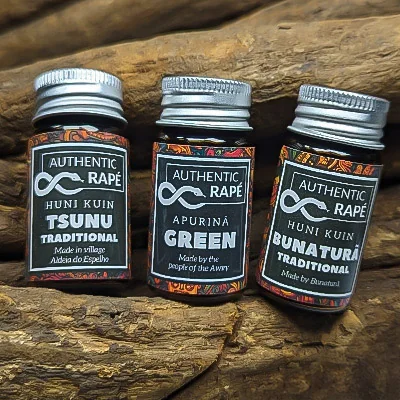
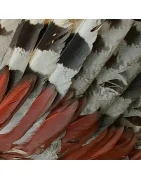
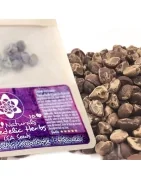
The Complete Rapé Guide 2026: Sacred Amazonian Blends
Rapé (pronounced 'ha-peh') is a sacred herbal blend from the Amazon, crafted from finely ground plants and tree bark...
Read more

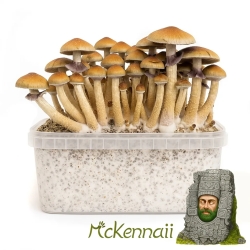
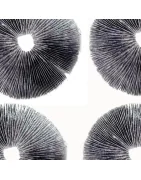
Copelandia Grow Kit Guide 2026
Growing Copelandia (Panaeolus cyanescens) mushrooms is quite different from a standard Cubensis grow kit. This...
Read more