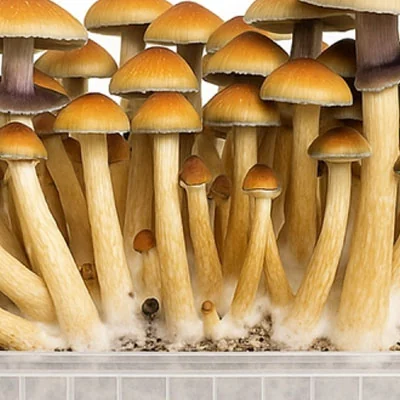
The Complete Soil Activation System: A Step-by-Step Guide for Maximum Plant Growth
This comprehensive soil activation guide is designed for growing 5 plants in 20-30L pots. However, you can easily adapt these instructions for more plants in smaller containers, one large container, or to enhance a specific garden area by adjusting the measurements to suit your specific situation.
Getting Started: The Foundation for Thriving Plants
Step 1: Initial Preparation
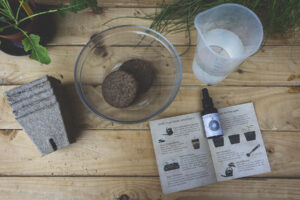
What you'll need:
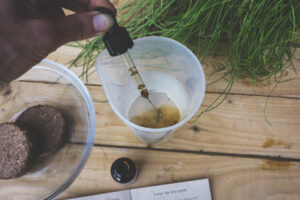
- Coco coir tabs
- Liquid Start solution
- 500 ml water
- A suitable bowl or container
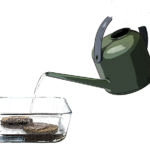
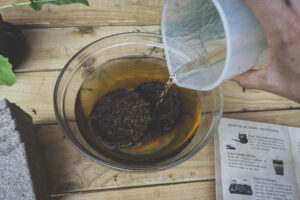
Instructions:
- Place the coco coir tabs in your container
- Mix 20 ml of Liquid Start with 500 ml of water
- Pour this nutrient-rich mixture over the tabs
- Allow them to fully absorb the solution and expand
Pro tip: Since coco coir contains minimal nutrients naturally, this preparation gives your plants a steady but gentle start. For more vigorous initial growth, consider using quality potting soil or your preferred germination method. In that case, use 2-3 ml of Liquid Start per liter of water during the first few weeks, then proceed directly to Step 4. The coco coir can be incorporated later to improve soil aeration.
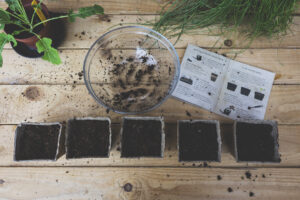
Step 2: Seed Planting
What you'll need:
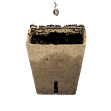
- Compostable seed pots
- Your prepared coco coir
- Seeds of your choice
Instructions:
- Break apart the soaked coco coir tabs completely
- Distribute the coir evenly among your compostable pots
- Create a small depression in the center of each pot (not too deep)
- Place a single seed in each depression
- Gently cover the seeds with a thin layer of coco coir
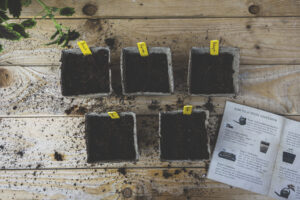
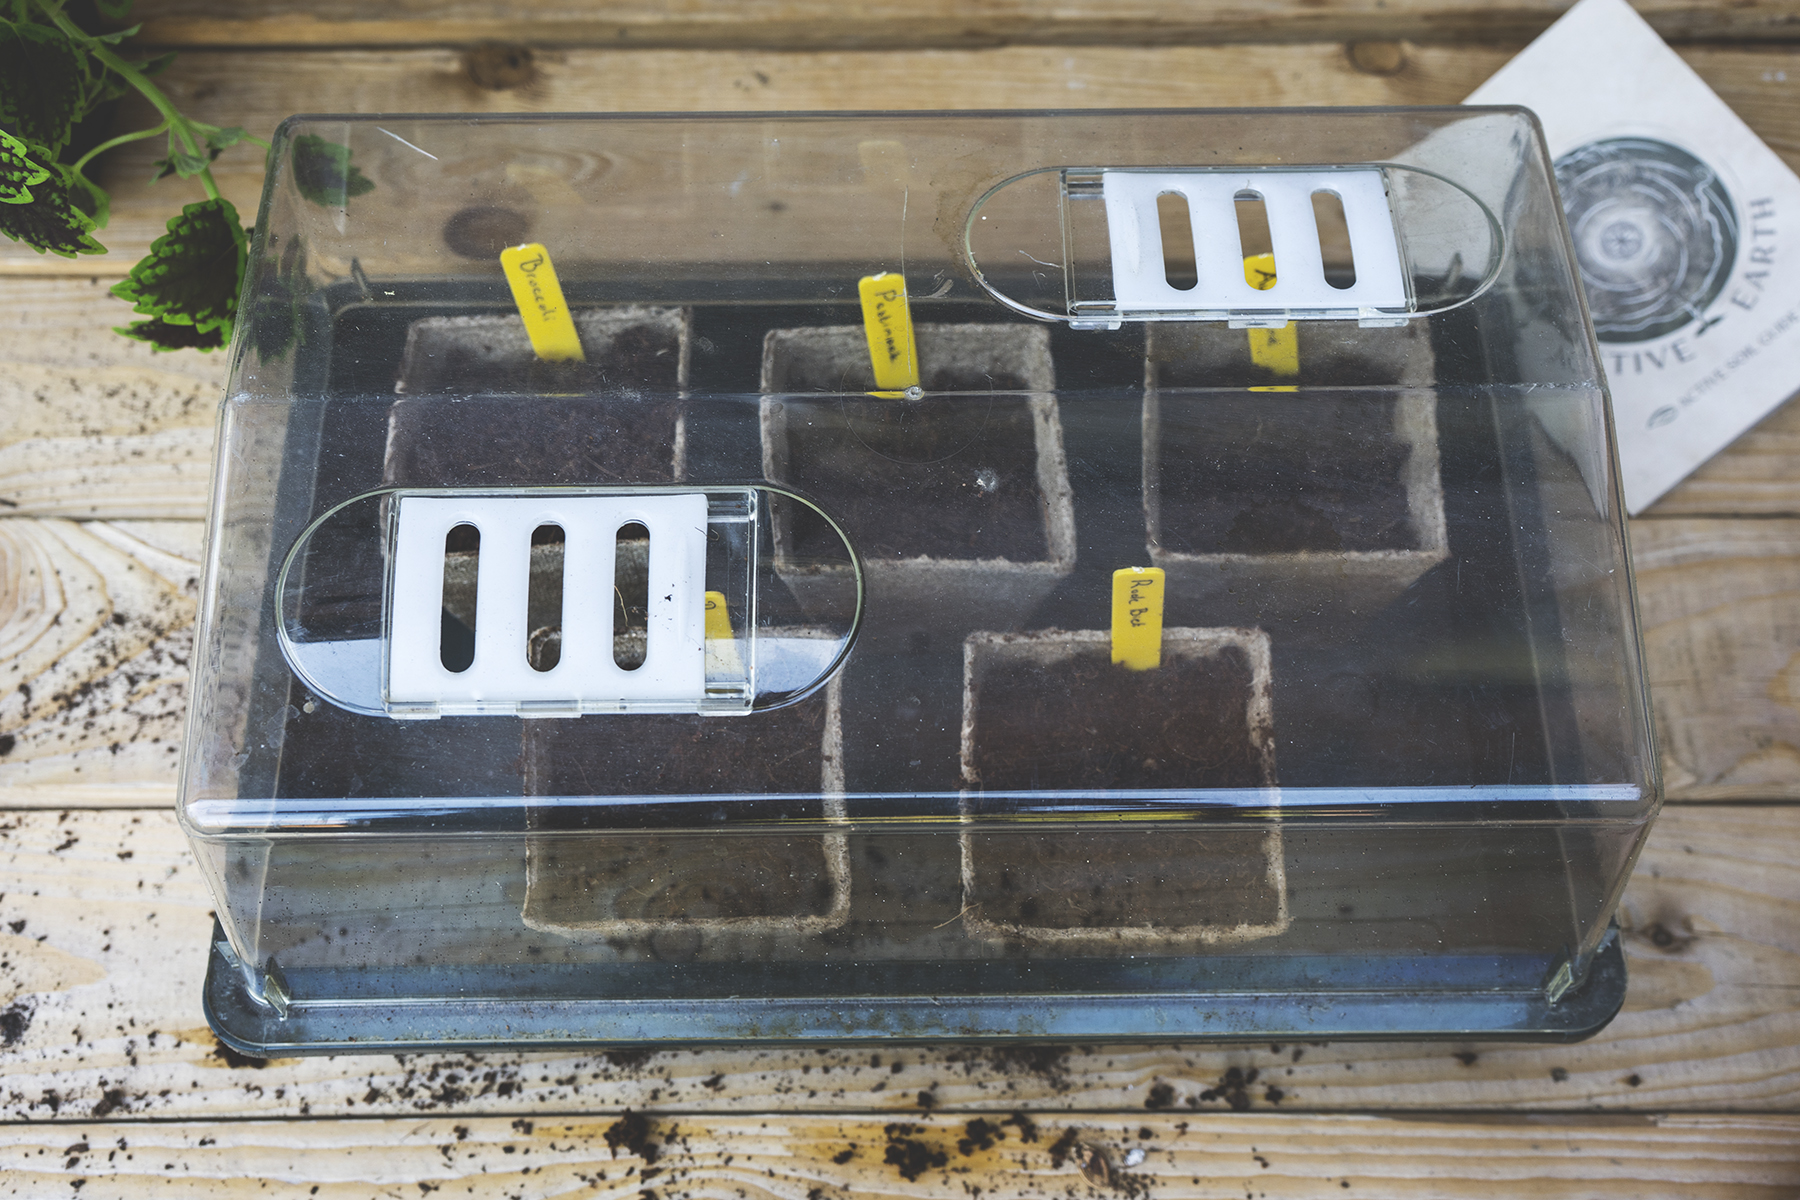
Step 3: Encouraging Germination
What you'll need:
- A propagator (or alternative high-humidity environment)
Instructions:
- Place your planted pots in the propagator or high-humidity location
- Maintain appropriate moisture levels
- Wait for germination to occur (typically 1-14 days depending on plant variety)
- Monitor regularly but avoid disturbing the developing seedlings
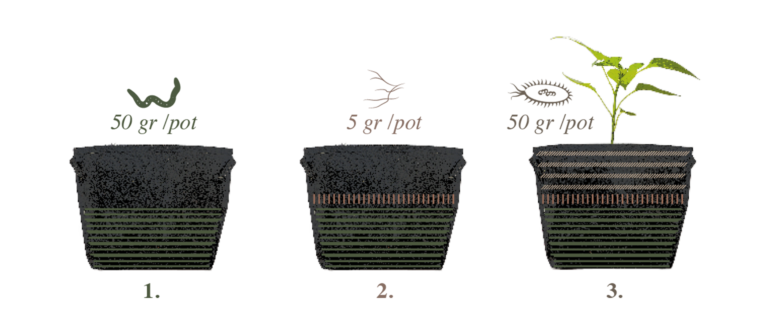
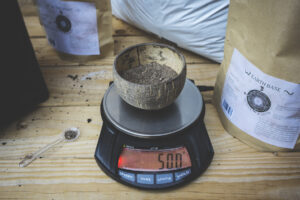
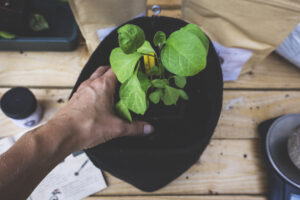
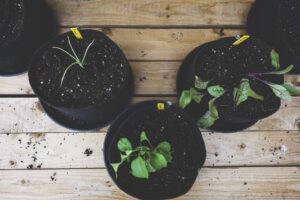
Step 4: Transplanting to Larger Containers
What you'll need:
- 100-150 liters of quality soil
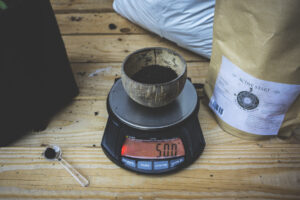
- 5 larger growing pots
- Kitchen scale for precise measurements
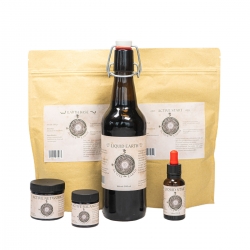
- Earth Base
- Active Network
- Active Start
Instructions:
- Wait until roots begin emerging from the bottom of your seedling pots (typically 3-4 weeks)
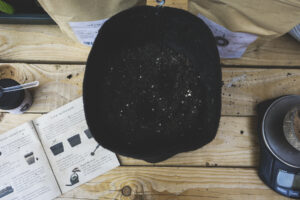
- Fill each larger pot halfway with soil (approximately 50% of your total soil)
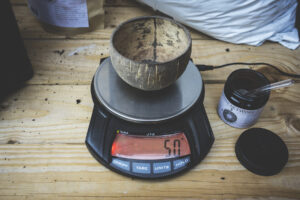
- Thoroughly mix 50 grams of Earth Base into the soil in each pot
- Add another quarter of your remaining soil divided equally among the pots
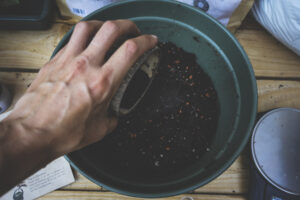
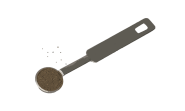
- Sprinkle 5 grams of Active Network powder into the center of each pot
- Carefully place your seedling (with its biodegradable pot) on top of this layer, ensuring the roots make direct contact with the Active Network powder
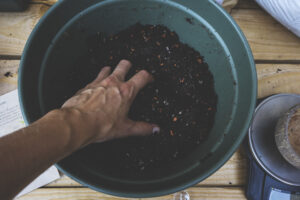
- Mix 250 grams of Active Earth through your remaining soil
- Distribute this enriched soil mixture evenly among all 5 pots, filling to approximately 2.5 cm (1 inch) below the rim
Step 5: Ongoing Nutrition - Balancing Your Soil
What you'll need:
- A measuring spoon
- Kitchen scale
- Watering can
- Active Balance
- Fresh water
Instructions:
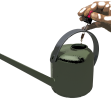
- Once your plants are established in their larger containers, begin supplementing with Active Balance
- Add 0.5-1 gram of Active Balance per 10 liters of water
- Apply this enriched water every two weeks
- Continue this regimen until three weeks before your planned harvest date
Step 6: Final Nutrient Boost - Liquid Enrichment
What you'll need:
- Liquid Earth
- Watering can
- Fresh water
Instructions:
- Two weeks after transplanting to larger containers, begin incorporating Liquid Earth into your watering routine
- Add 1-2 ml of Liquid Earth to your water
- Apply this enriched solution every other watering session
- Continue throughout the growing cycle as needed
Benefits of This Soil Activation System
By following this comprehensive soil activation process, you'll create an optimal growing environment that:
- Enhances nutrient availability through beneficial microbial activity
- Improves soil structure for better water retention and root development
- Provides balanced nutrition throughout all growth stages
- Supports natural plant immunity and stress resistance
- Promotes more vibrant flowering and increased yields
Remember that healthy soil is the foundation of thriving plants. This systematic approach activates the complex soil ecosystem, creating the perfect environment for your plants to flourish.
For best results, maintain appropriate watering practices and ensure adequate sunlight exposure for your specific plant varieties.

Lex Johnson is a self-taught herbalist, musician, and one of the writers behind the Next Level blog. His curiosity runs wide — from the drying techniques that shape kratom quality and the differences between Criollo and Trinitario cacao, to the latest psilocybin research coming out of universities like Emory.
That same curiosity shows in the range of his writing. Lex covers everything from ceremonial cacao and kanna extraction to magic mushroom grow guides, salvia divinorum, kambo, and party capsules. He also writes many of the product descriptions on the site, where he tries to go beyond the basics and share what actually makes a product worth trying.
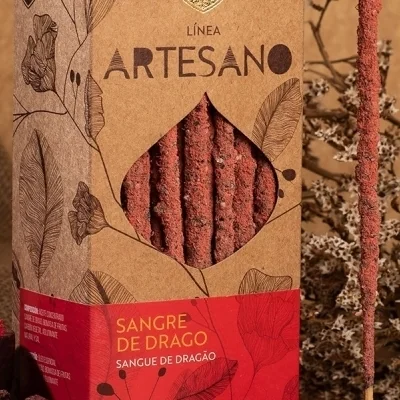
When he's not writing, he's growing food plants and CBD cannabis, playing guitar, or burning through another stick of dragon's blood incense.
Writes about: ceremonial cacao, kratom craftsmanship, magic mushrooms and psychedelics, kanna, salvia divinorum, healing herbs and tinctures, psilocybin research, kambo, party capsules, palo santo and natural incense, product deep-dives
Favourite products: ceremonial cacao, guayusa, mulungu, kanna, palo santo, Sagrada Madre dragon's blood incense